
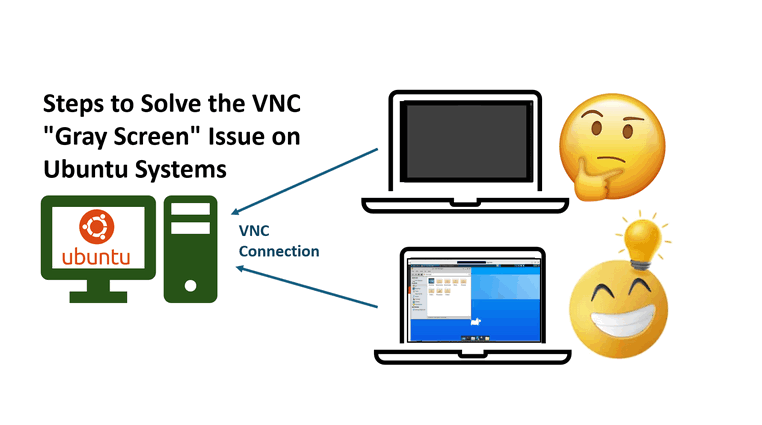
像是 TeamViewer、AnyDesk 和 LogMeIn 等圖形化桌面分享工具,可讓使用者遠端控制另一台電腦的螢幕、鍵盤和滑鼠。其中,像是 TigerVNC、TightVNC、RealVNC 等工具,透過 VNC (Virtual Network Computing) 協定提供跨平台控制。VNC 藉由利用 Remote Frame Buffer (RFB) 標準來傳輸螢幕更新和輸入事件,實現遠端桌面控制。然而,Ubuntu 使用者在透過 VNC 連線時,經常會遇到擾人的「灰畫面」問題——一個空白、無回應的顯示畫面,導致生產力停滯。本指南提供明確的步驟來診斷和解決這個常見的 VNC 伺服器問題,恢復您在 Ubuntu 系統上的遠端桌面功能。
Author:      Yuancheng Liu
Created:     2025/05/31
Version:     v_0.0.1
Copyright:   Copyright (c) LiuYuancheng
問題說明
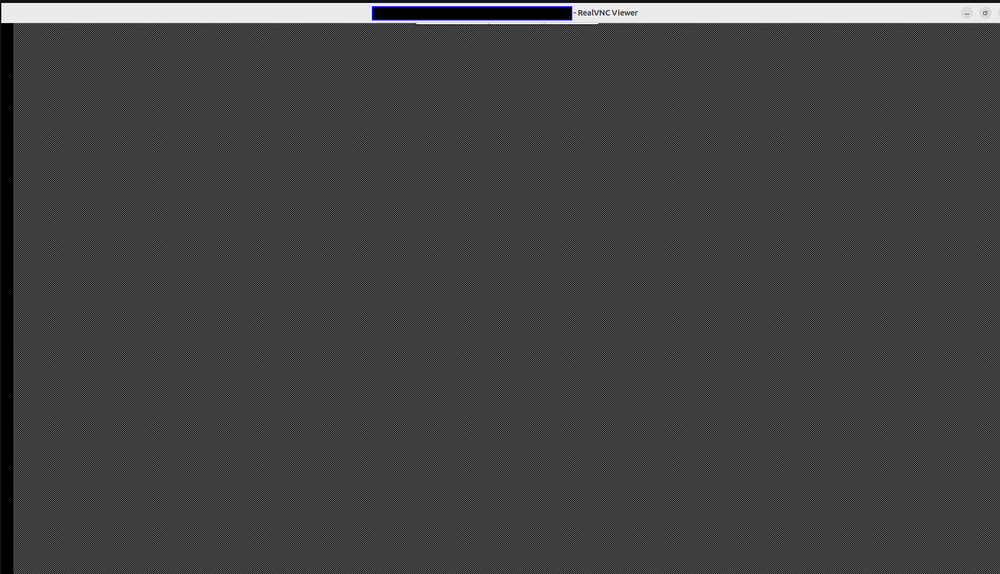
在某些 Ubuntu 系統上設定 VNC 伺服器時,使用者可能會遇到一個令人沮喪的問題:遠端連線後,螢幕只顯示灰色的背景,游標顯示為一個小的黑色 "X",如下所示:
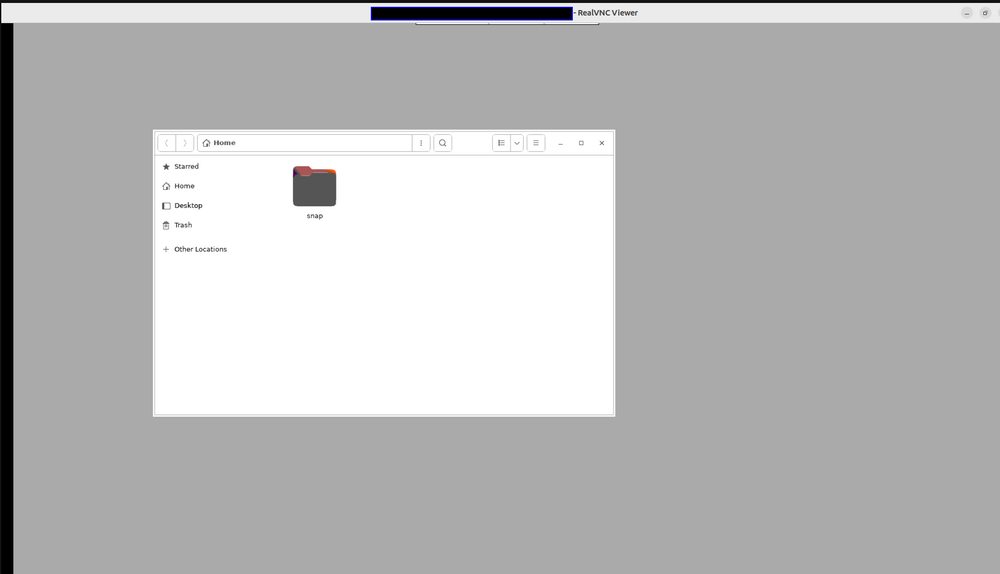
在其他情況下,桌面背景會變成灰色,只顯示一個檔案總管視窗(如 Files 或 Nautilus):
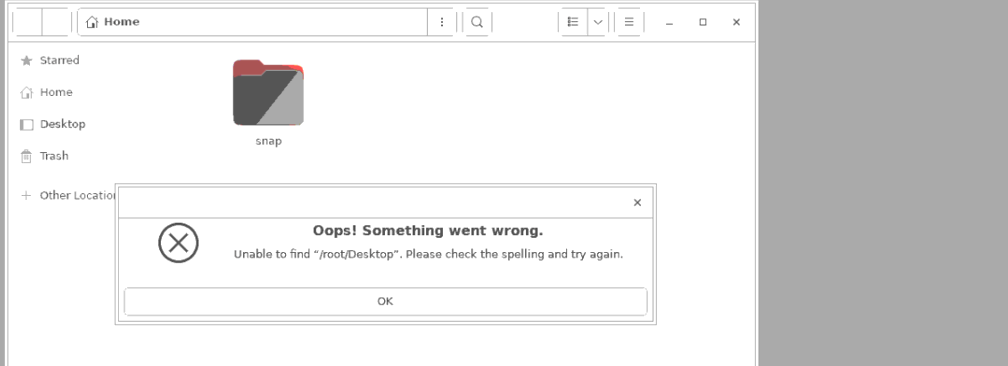
當您點擊桌面時,可能會出現找不到 Desktop 的錯誤,即使 Desktop 資料夾顯示在那裡:
這個問題通常是由於 VNC 會話期間初始化桌面環境時出現問題所導致。常見原因包括:
-
缺少或配置錯誤的桌面環境(例如,GNOME、XFCE 或 MATE)
-
VNC 伺服器中不正確的顯示索引設定
-
重要配置檔案的不正確權限或所有權
-
以 root 身份執行 VNC 伺服器,這可能會導致環境衝突
雖然網路上有許多提供各種修復方法的教學,但本文提供了一個逐步指南,用於解決灰畫面問題,從一個乾淨的 Ubuntu 系統開始。即使 VNC 伺服器以 root 身份運行,該解決方案也能正常工作,並且已在 Ubuntu 18.04、20.04 和 22.04 上進行了測試。
解決問題的詳細步驟(支援 Root 存取)
本節提供了一個完整的、逐步的解決方案,用於解決 Ubuntu 系統上 TightVNC 中的灰畫面問題。該解決方案配置了一個輕量級的 XFCE 桌面環境或 GNOME Flashback 會話,並使 VNC 能夠正常運行——即使在 root 使用者下運行。
步驟 1:安裝 XFCE 桌面環境
XFCE 是一個輕量級的桌面環境,可以很好地與 VNC 配合使用。
sudo apt-get update
sudo apt-get install xfce4 -y
同時安裝 XFCE goodies(可選的工具和實用程式):
sudo apt-get install xfce4-goodies步驟 2:安裝 TightVNC 和 GNOME Flashback 會話
TightVNC 是此設定中使用的 VNC 伺服器。GNOME Flashback 提供了一個更簡單的會話,適合遠端存取。
sudo apt-get install tightvncserver -y
sudo apt-get install gnome-session-flashback -y
XFCE 或 GNOME Flashback 確保了 VNC 會話的輕量級、相容的桌面。
步驟 3:停用 Wayland(啟用 X11)
Ubuntu 預設使用 Wayland,它與許多 VNC 配置不相容。
編輯 GDM3 配置:
sudo nano /etc/gdm3/custom.conf
取消註解或修改以下行:
WaylandEnable=false
儲存並關閉檔案。這確保了在重新啟動後使用 X11。當 Wayland 被停用時,允許 VNC 在 X11 下運行。
步驟 4:準備 VNC 配置檔案(以 Root 身份)
本指南配置了 root 使用者的 VNC,用於示範。對於正常使用,建議在常規使用者下進行配置。
sudo mkdir -p /root/.vnc
sudo chmod 0644 /root/.vnc
設定 VNC 密碼:
sudo touch /root/.vnc/passwd
sudo chmod 0600 /root/.vnc/passwd
sudo bash -c 'echo "" | tightvncpasswd -f > /root/.vnc/passwd'
步驟 5:初始化 VNC 並建立 xstartup 腳本
啟動 VNC 以初始化配置檔案:
vncserver
然後停止它以進行下一步:
vncserver -kill :1
建立或覆寫 xstartup 檔案:
sudo touch /root/.vnc/xstartup
sudo chmod 0600 /root/.vnc/xstartup
sudo nano /root/.vnc/xstartup
貼上下列內容:
#!/bin/sh
autocutsel -fork
xrdb $HOME/.Xresources
xsetroot -solid grey
export XKL_XMODMAP_DISABLE=1
export XDG_CURRENT_DESKTOP="GNOME-Flashback:Unity"
export XDG_MENU_PREFIX="gnome-flashback-"
unset DBUS_SESSION_BUS_ADDRESS
gnome-session --session=gnome-flashback-metacity --disable-acceleration-check --debug &
確保該檔案是可執行的:
chmod +x /root/.vnc/xstartup
xstartup 腳本顯式啟動圖形會話並停用 DBUS 衝突。
步驟 6:建立 Systemd 服務以自動啟動 VNC
建立 VNC 服務檔案:
sudo nano /etc/systemd/system/tightvncserver.service
新增以下內容:
[Unit]
Description=TightVNC Server
After=syslog.target network.target
[Service]
Type=forking
User=root
ExecStartPre=-/usr/bin/tightvncserver -kill :0
ExecStart=/usr/bin/tightvncserver -geometry 1920x1080 -depth 24 :0
ExecStop=/usr/bin/tightvncserver -kill :0
[Install]
WantedBy=multi-user.target
設定權限:
sudo chmod 0600 /etc/systemd/system/tightvncserver.service
啟用並啟動服務:
bashCopyEditsudo systemctl daemon-reexec
sudo systemctl enable tightvncserver
sudo systemctl start tightvncserver
Systemd 服務確保 VNC 在啟動時自動啟動。
步驟 7:重新啟動並透過 VNC 連線
現在,重新啟動機器:
sudo reboot
重新啟動後,使用 VNC 用戶端,例如 TigerVNC Viewer 或 RealVNC 連線到:
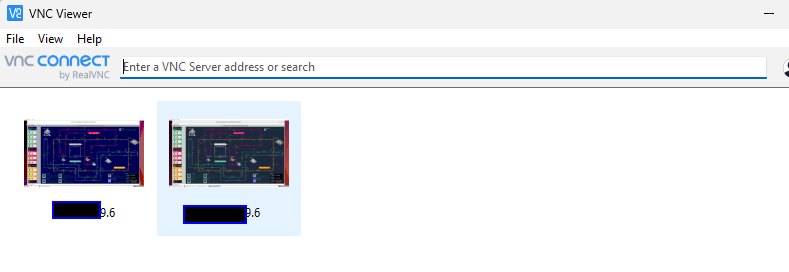
:5900
或者,如果使用顯示器 :1:
:1
您應該會看到一個功能完整的桌面,如下所示:
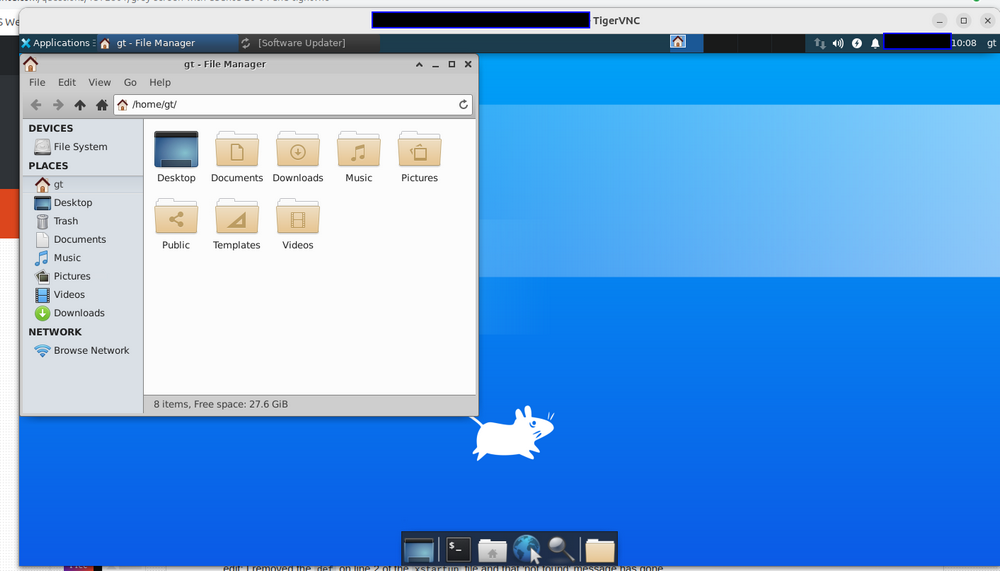
問題已解決!
參考文獻
-
https://hustakin.github.io/bestpractice/setup-vncserver-for-ubuntu/
-
https://askubuntu.com/questions/800302/vncserver-grey-screen-ubuntu-16-04-lts
-
https://bytexd.com/how-to-install-configure-vnc-server-on-ubuntu/
Last edit by LiuYuancheng ([email protected]) at 02/06/2025, if you have any problem, please send me a message.

太棒了,解決了我的烦恼。
对于startxfce4,我的问题出现在:
Ubuntu 默认使用 Wayland,它与许多 VNC 配置不兼容。 编辑 GDM3 配置 :
sudo nano /etc/gdm3/custom.conf
取消注释或修改以下行:
WaylandEnable=false
修改完这个,我再进行修改 配置,桌面就恢复了。
sudo vi .vnc/xstartup ,然后写入