
Have you ever wondered how to take screen recording easily on Windows? Normally you would think to download some software online and install it on your machine such as Camtasia. However, many of them are either non-free or uneasy to use.
Fortunately, there is a built-in tool provided in Windows 10 which can be used to take simple screen recording plus audio recording. The tool is called the Game Bar which is primarily intended for gamers to take screenshots of their plays and achievements. Don't be scared away by its name though, it is not only for game recording, it can also be used for taking any screen recording indeed.
To invoke the Game Bar, please follow below steps:
- Press Windows + G key, you will see below
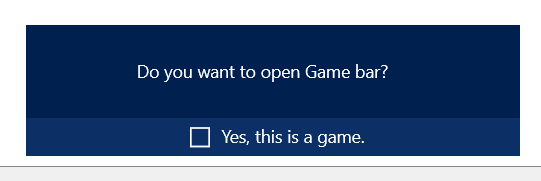
- Check the checkbox for "Yes, this is a game." and another window will show up.
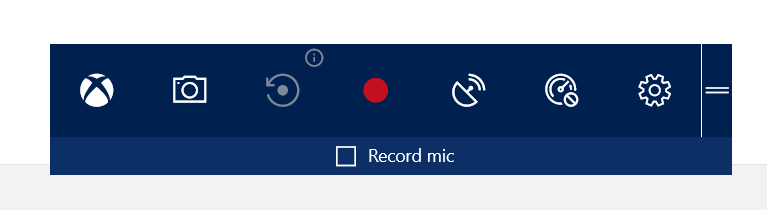
- On the control window, you can click the red button in the middle(record button) to start the recording. You can also check the "Record mic" button if you want to record the audio while recording the screen.
- Once the recording starts, you will see another control window where you can click to stop recording when you finished your recording.

- The recorded screen video will be saved into C:\Users\]username]\Videos\Captures folder with mp4 format.
Pretty handy stuff provided by Windows 10. Hope you like it.

No comment for this article.